1. The walls
The first technique developed for the realization of the walls provides the use of a mortar with a low amount of water; such material is placed and formed on site realizing a wall with the stratification of various layers of material, respecting its hardening times; in figure 1 a view of the city at the beginning, during the realization of the walls.
A layer of plaster was placed on the wall to enhance the aesthetic characteristics.
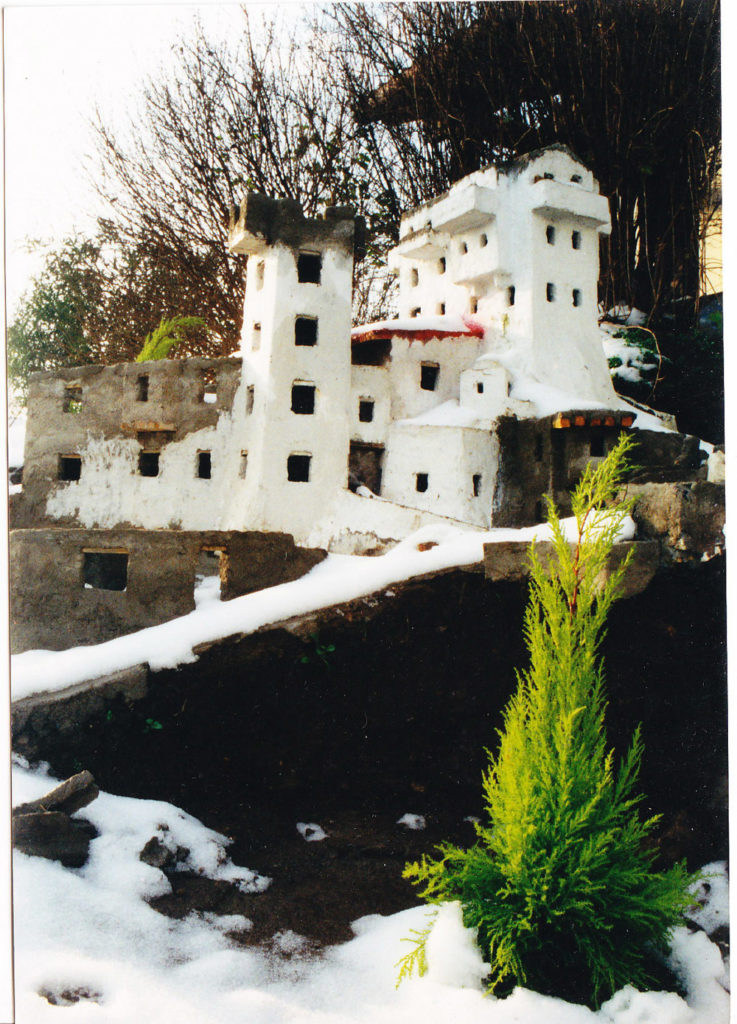
The described technique has the undoubted advantage to permit the realization of buildings with any type of base shape, even highly irregular; the disadvantages, which led this technique to its end, are essentially two:
- The inability to realize decorative elements on the walls (pilasters, cornices, etc.).
- The lack of precision in the construction of the walls.
Due to these problems, it was decided in 2002 to explore new solutions, starting from an experimental building made in the year 1996, for which was used chalk, material which implies the use of molds and forms to its containment.
The development of the technique that is based on the realization of prefabricated panels allowed to build all the monumental constructions and has gradually supplanted the previous technique even for small houses.
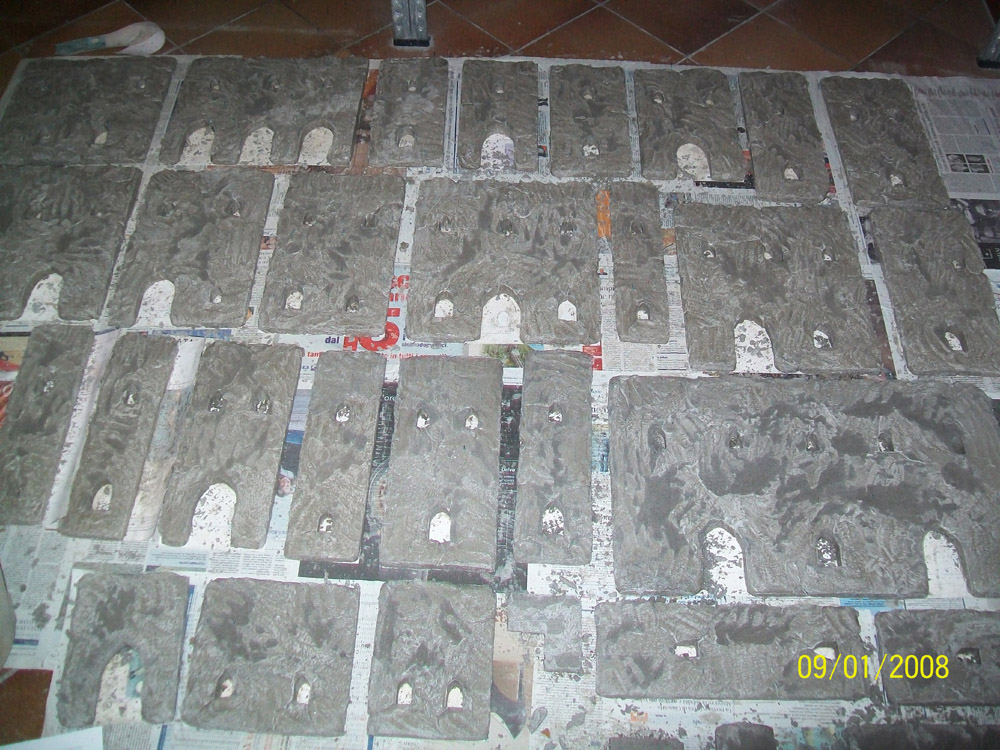
The realization of a wall with such technique begins with the deposition of the first layer of material on a shaped ground, defining also the forms of the doors and the windows (figure 2); once hardened, is put on the rough surface another layer of material in order to level the surface of the wall and assure a regular aspect; then are made all the needed embellishments.
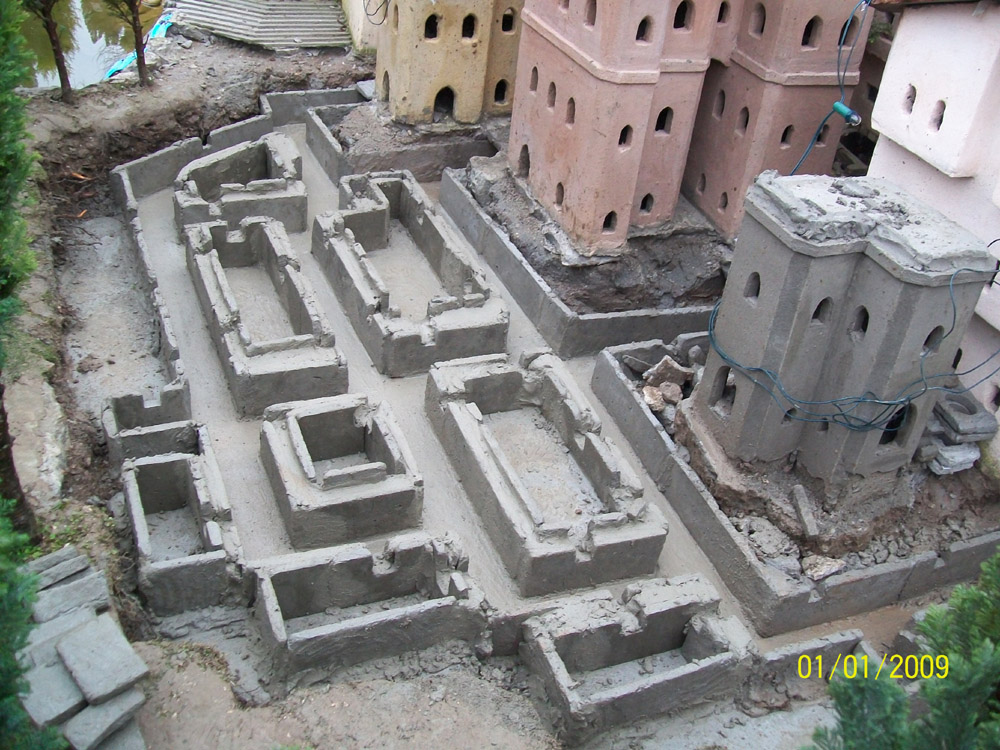
The walls are also assembled on site, once realized the foundations (figures 3 and 4), and finally covered with a colored mortar (figure 5).
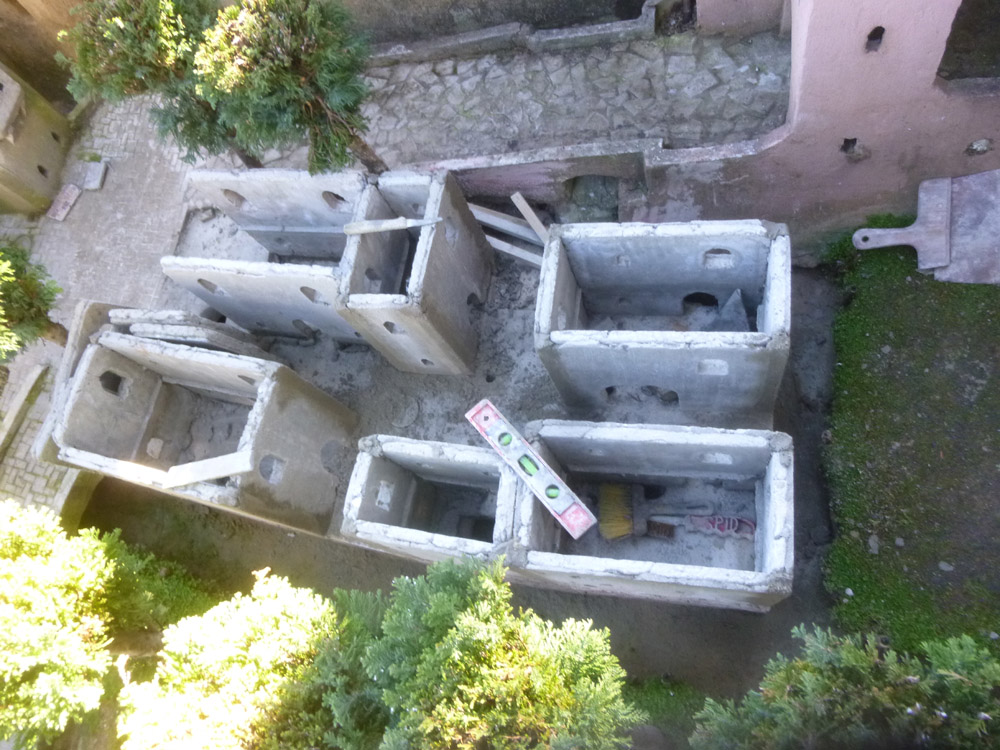
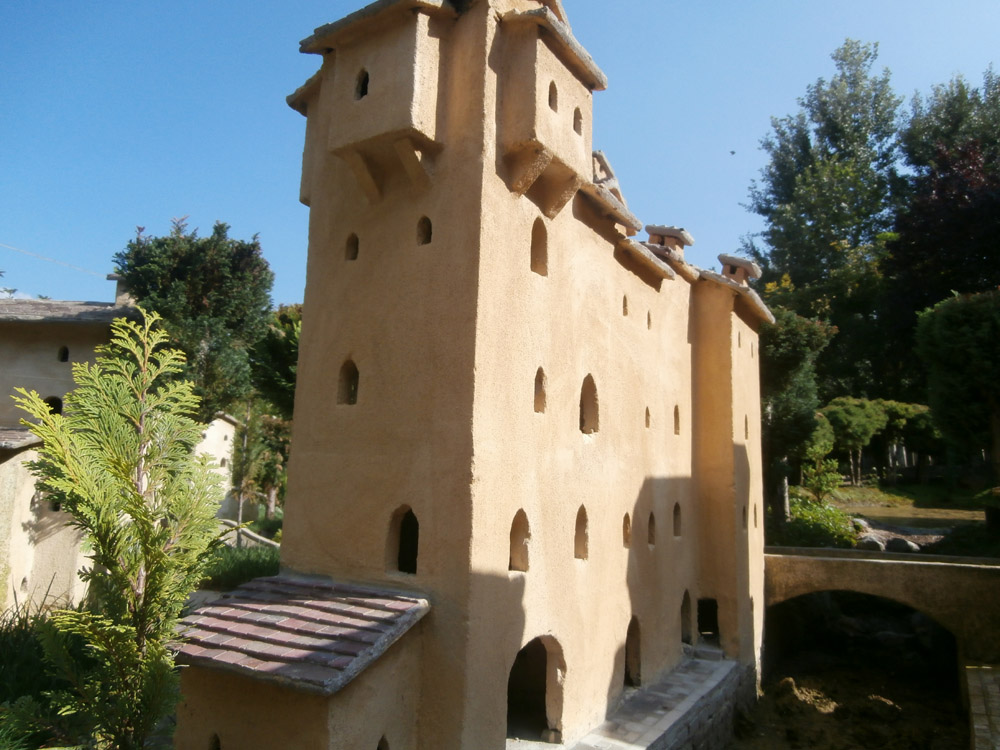
The same technique is used to realize the accessories for the buildings, like the internal walls or the chimneys (figure 6).
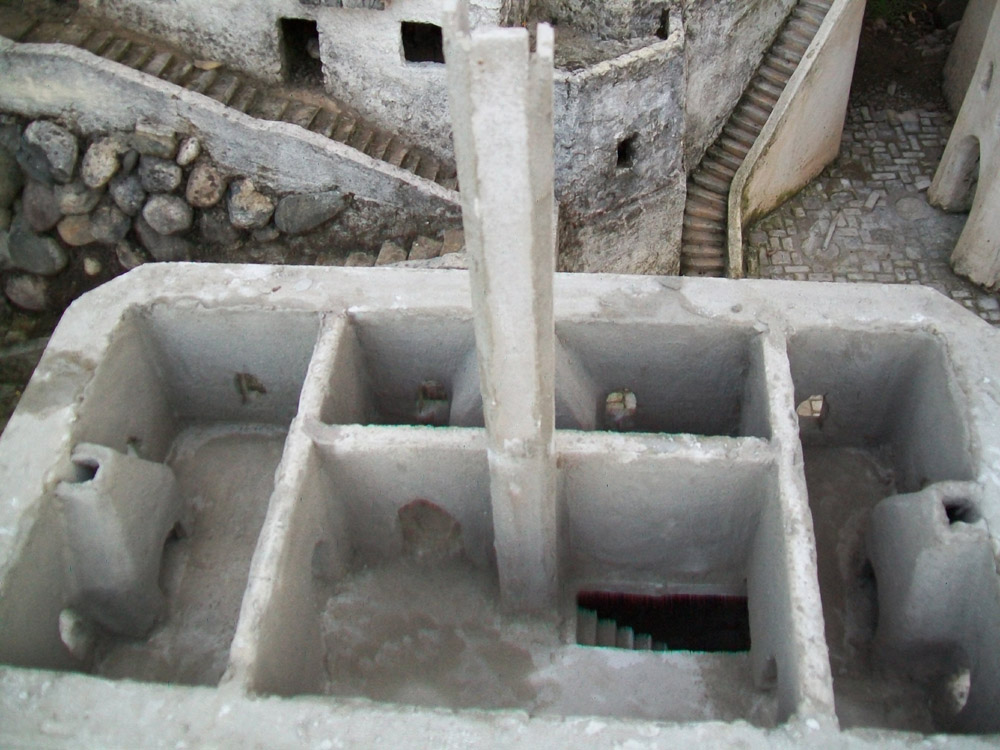
2. The paves and the floors
The first streets were dirt tracks; due to the slope this road surface led to a strong erosion, implying continuous reparations.
It was therefore necessary to realize a stone covering to avoid this problem and ensure at the same time an aesthetic enrichment of the whole ensemble.
The first concrete covering was a simply deposition of a layer of cement; this solved the problem of erosion, but did not provide an appreciable aesthetic improvement.
For this purpose was rediscovered an experiment performed in the early years (1996), where concrete irregular tiles where placed on a cement cast, giving to the street the typical appearance of an old Roman road (figure 7).
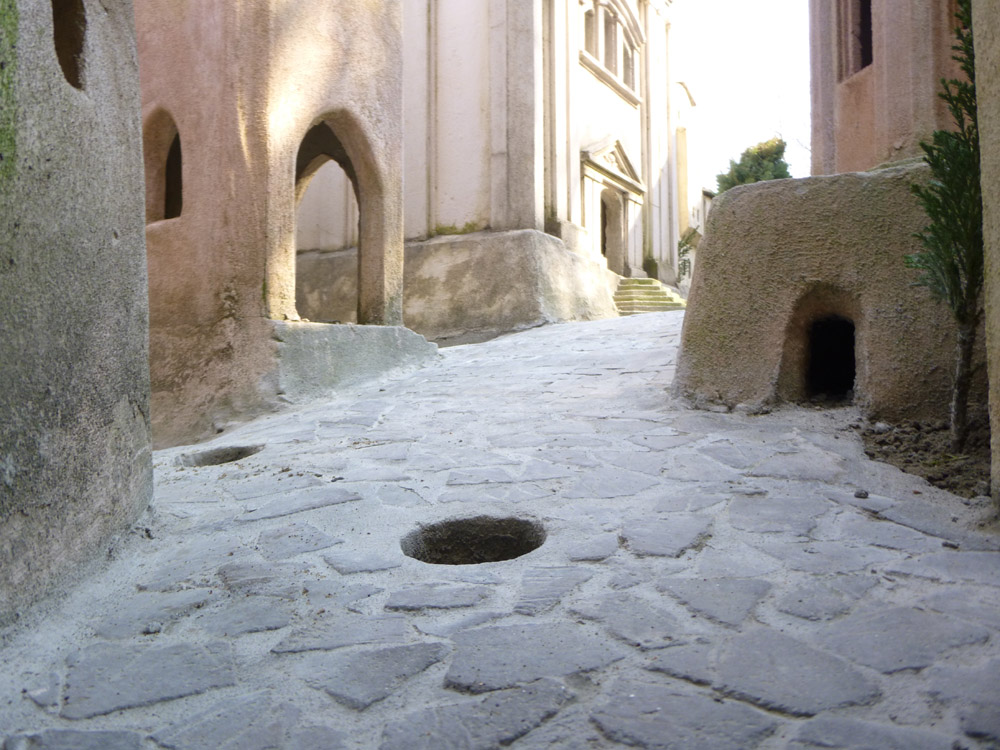
Over the time, however, it became necessary to look for new types of coverage, characterized by regular patterns and higher resistance.
The answer was the realization of regularly cut tiles with standardized dimensions and a greater thickness; these stones are now used for almost every covering (figure 8).
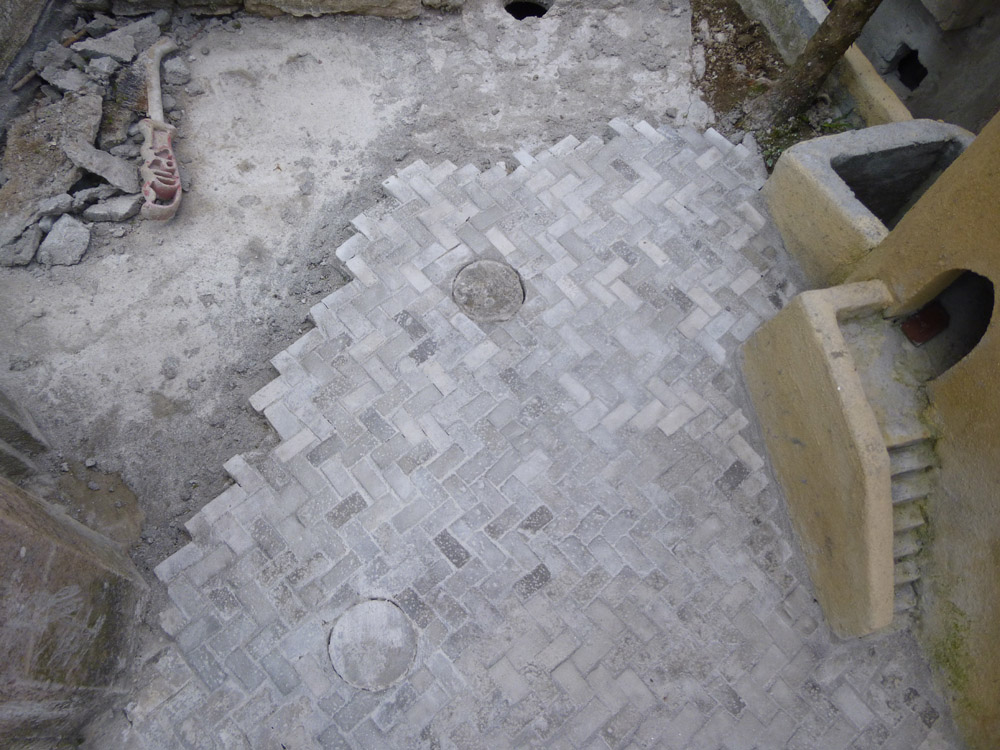
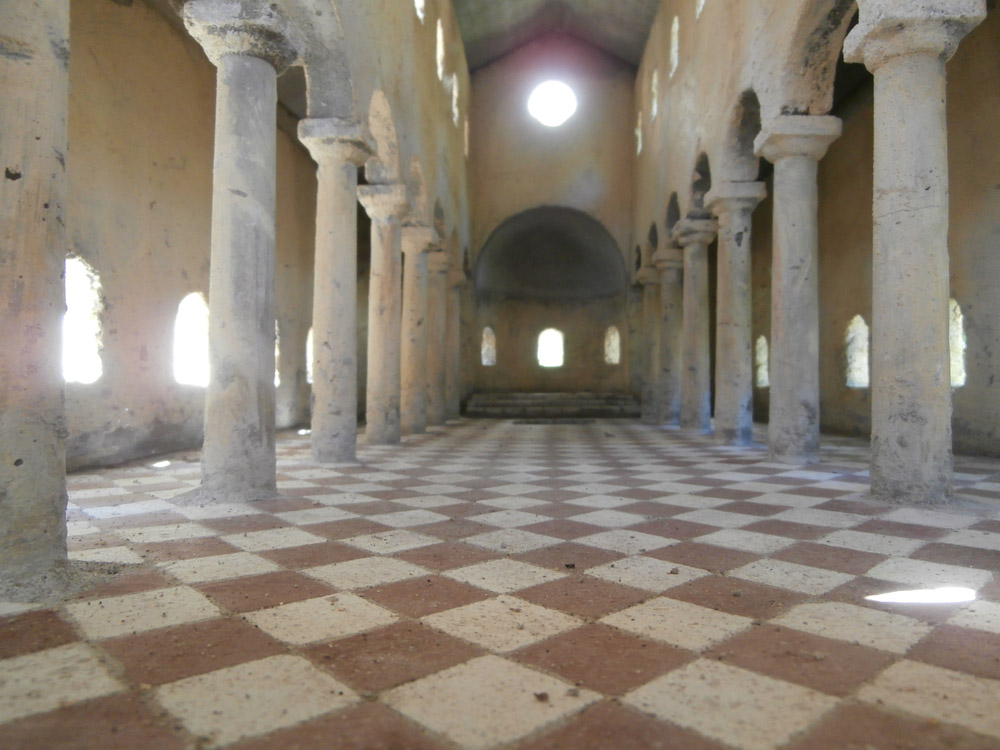
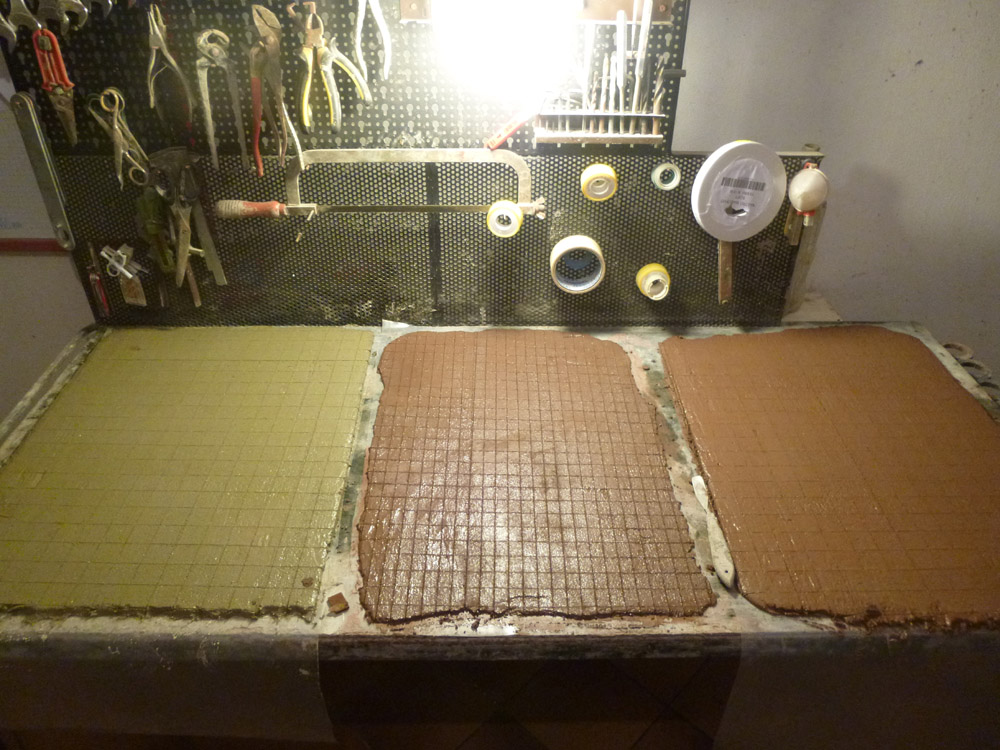
This technique is also used for the floors of the buildings, where the tiles are also colored (figures 9 and 10).
3. The roofs
The first roofs of the town were made of a single cement layer performed on site.
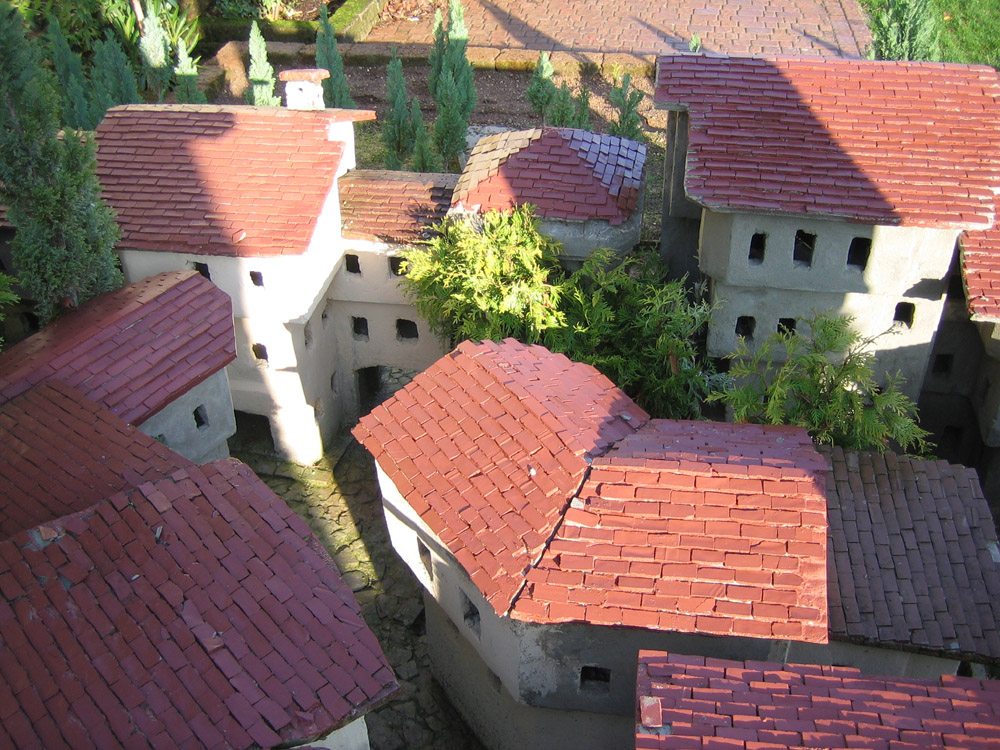
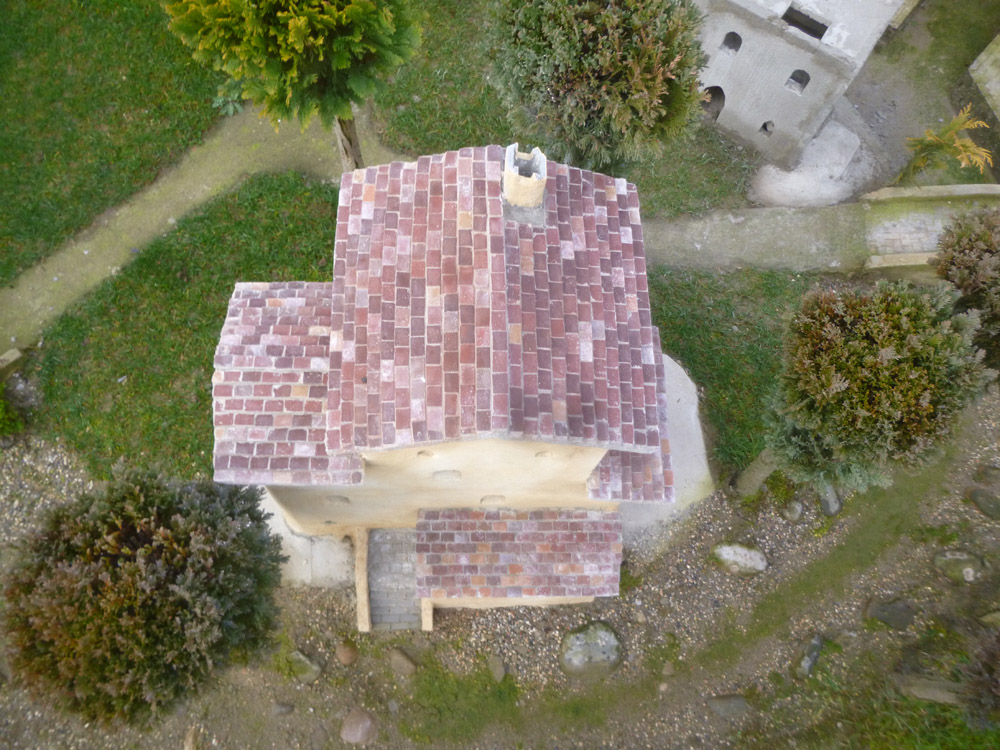
With the development of the road covering techniques some knowledge has been applied to the creation of tiled roofs (figure 11); through the years the tiles have become smaller and smaller, at least even colored, as made for the floor of the buildings (figure 12); in this case the coloration is absolutely random and gives the roof a realistic aspect.
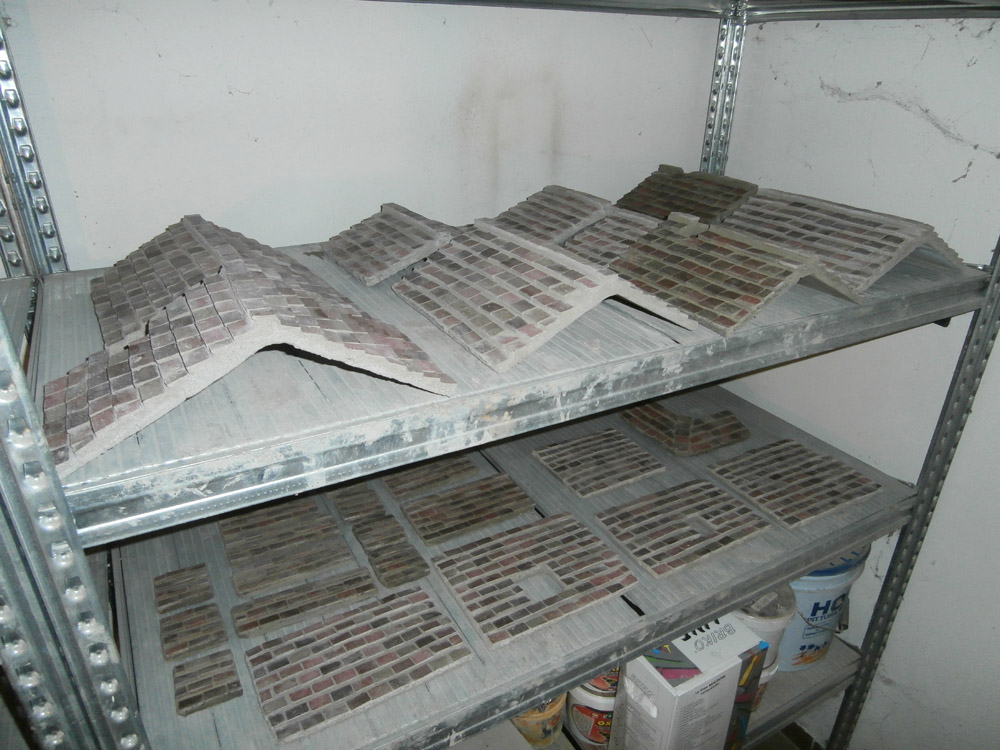
The laying of the tiles can be performed on site or using special ribs (figure 13).
